


Additional Tools & Materials: wax paper, contact paper, convection oven, carving tools, tiny rolling pin
This has been one of the most tangible studies I've done to date; all the construction of the letters was the direct result of my own hands. To pair "fabrication" and "fibers," I wanted to work with oven-bake clay, and see the effect of different textures from various fabrics pressed into the still-wet clay. I used netting, upholstery fabric, tweed, and chiffon - and each created their own distinct imprint onto the clay.
At the end of the day, this was more about me working the primary material into various forms, and the texture was very secondary. Still, I was impressed at the level of detail that actually translated from fabric to the letterforms. By rolling a long, skinny string of the clay over the netting, the resulting pattern is almost like snakeskin. The herringbone upholstery fabric left a distinct herringbone pattern on the clay, and you can even see the perpendicular stitching that makes up each piece of the pattern. The tweed left a bumpy, organic texture, especially apparent in number 8 which looks to me like a couple of stacked peanuts. The chiffon left the faintest imprint of all the fabrics, but it's still visible as wispy, wavy parallel lines.
To take this a step further, it would be interesting to use these letterforms as stamps, and see if the textures left on the clay would translate to an ink print. Maybe I'll try that out for a later study.
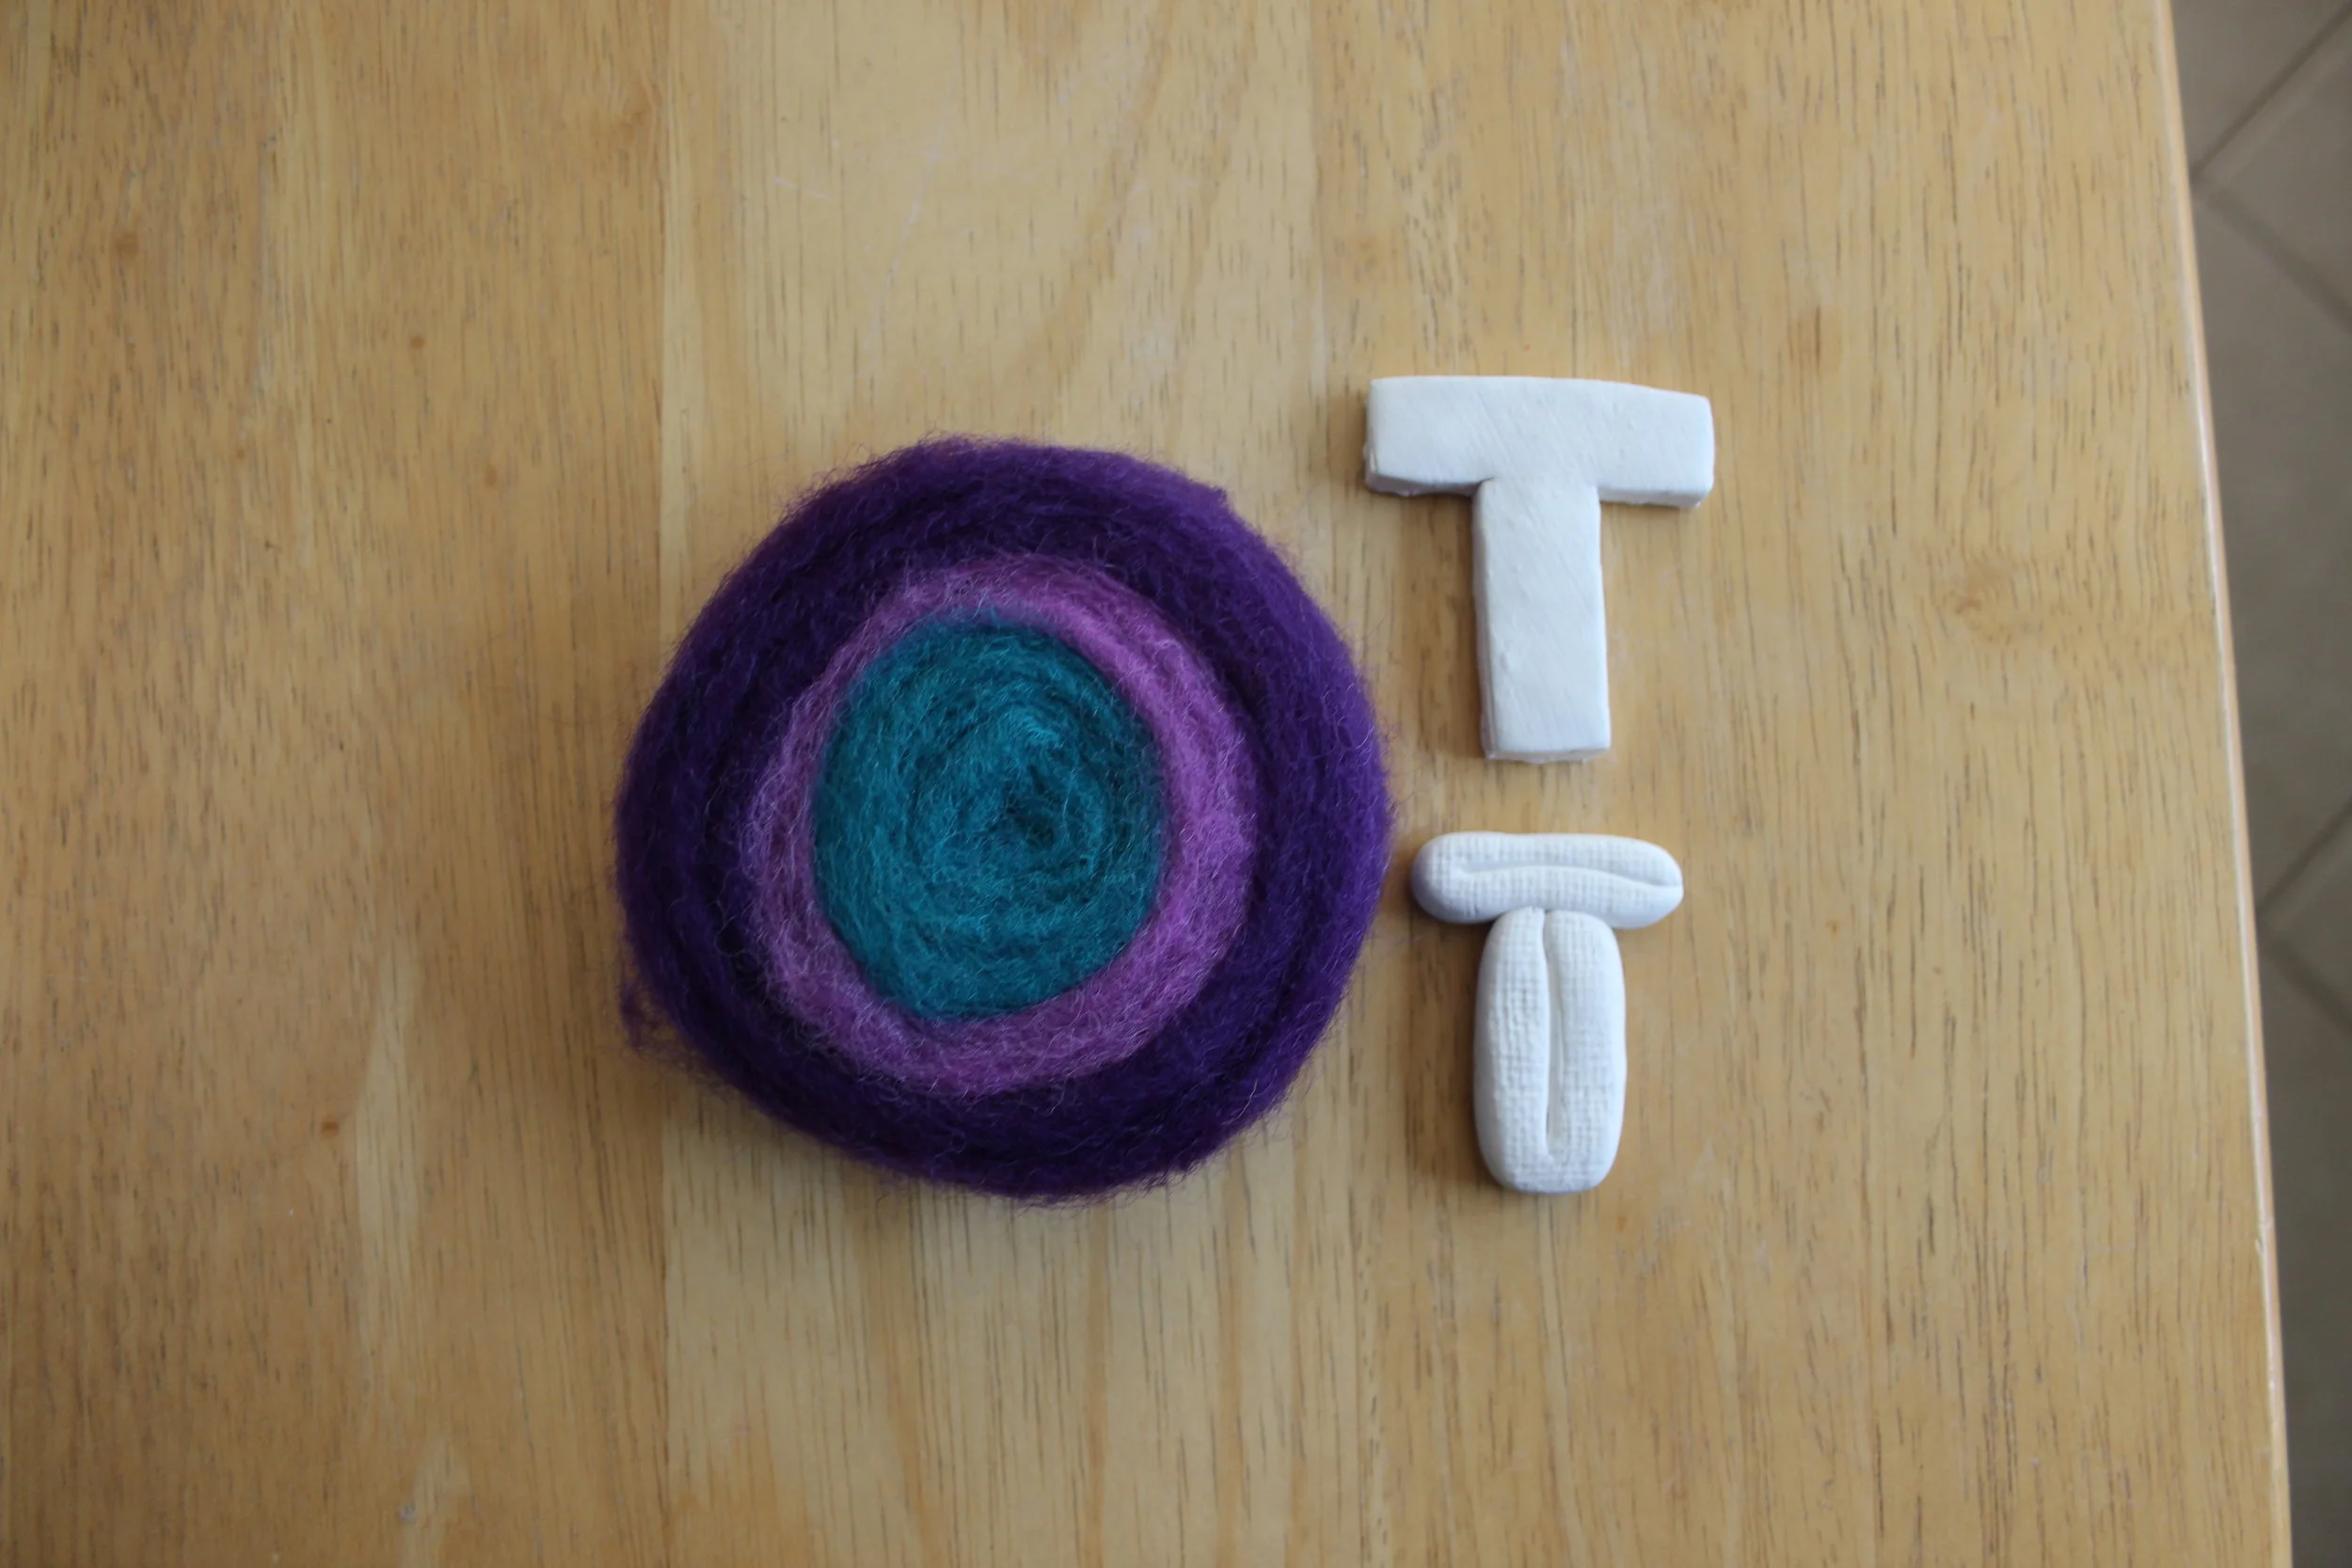
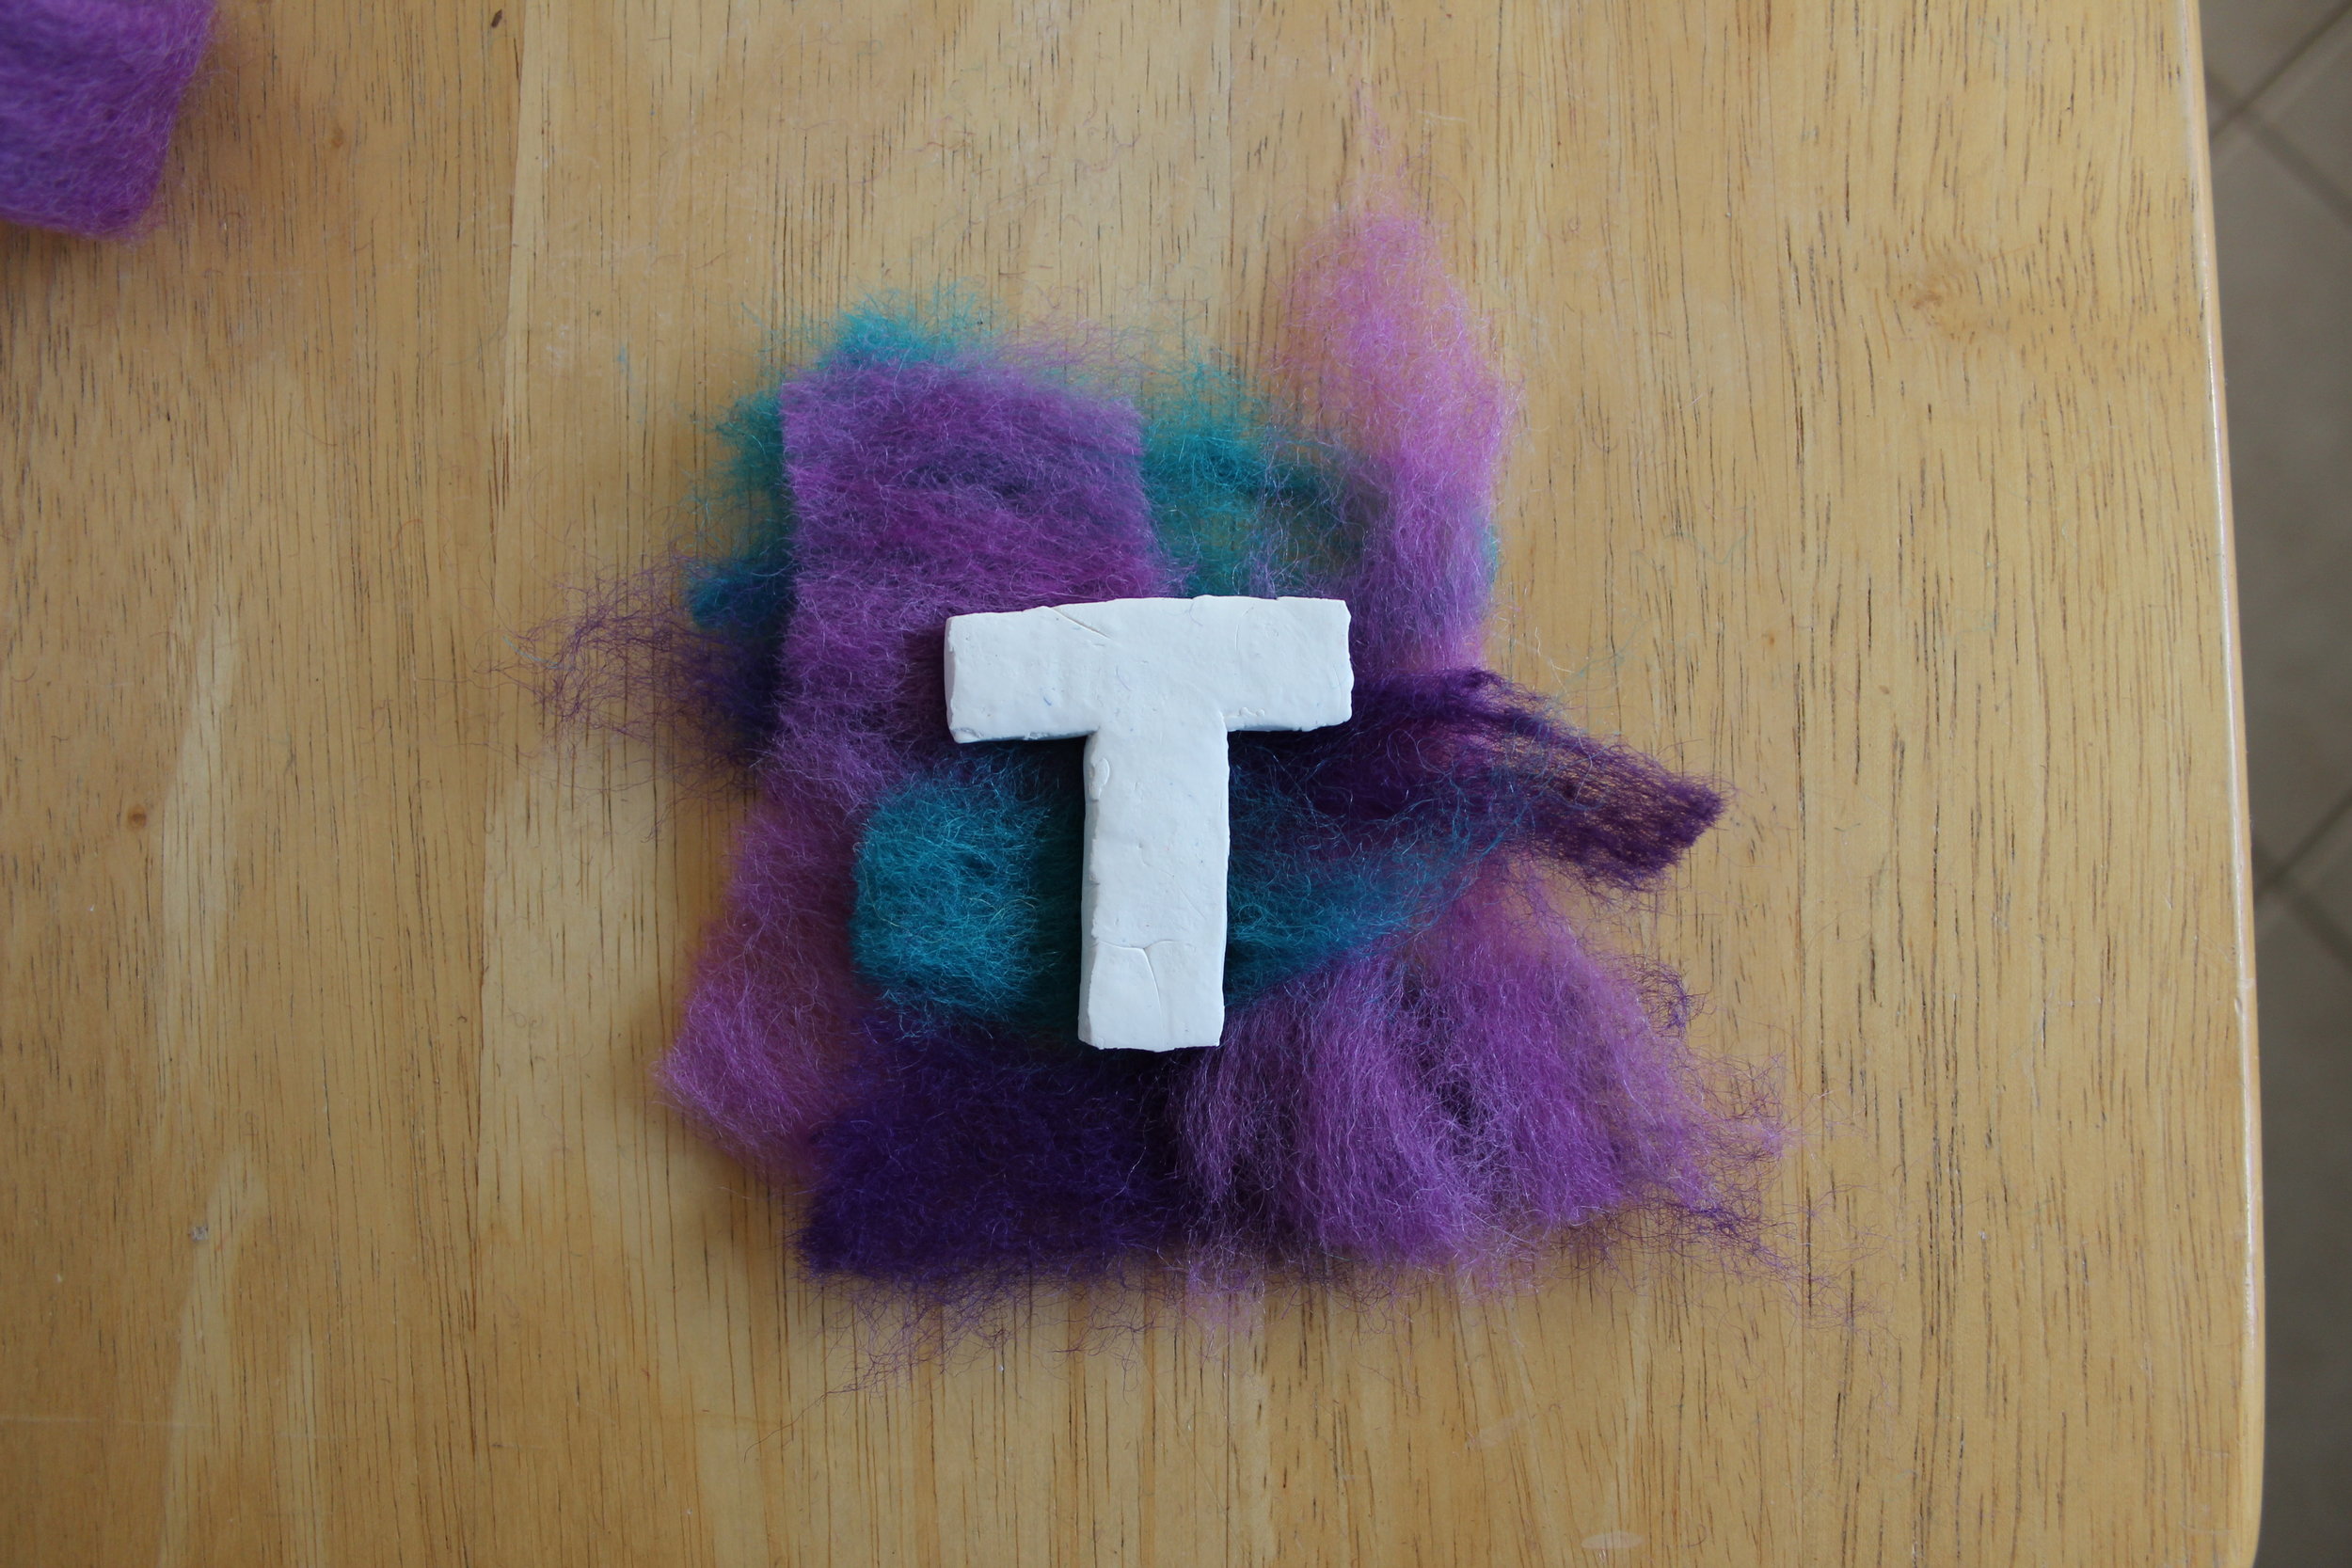
UPDATE: A few days after posting this letter I still felt unhappy with the study, and I wanted to try a different way of combining fabrication and fibers. I found a tutorial on how to felt objects using wool roving, and I wanted to give it a try. I took two of the letters I made from modeling clay and wrapped them in thin shreds of the wool roving in several colors. Holding it under warm soapy water for a few minutes, then reshaping the wool and repeating a few times produced fantastic results. The first time I held the letter under the warm water I could immediately feel the wool tighten around it. I think I could have started with my wool wrapped more tightly - I was expecting it to shrink a bit more, and so my resulting letter is still a little puffy-looking. But overall I think it turned out well, and it's definitely an entirely different way of applying fibers to clay.
Additional Tools & Materials: wax paper, contact paper, convection oven, carving tools, tiny rolling pin
This has been one of the most tangible studies I've done to date; all the construction of the letters was the direct result of my own hands. To pair "fabrication" and "fibers," I wanted to work with oven-bake clay, and see the effect of different textures from various fabrics pressed into the still-wet clay. I used netting, upholstery fabric, tweed, and chiffon - and each created their own distinct imprint onto the clay.
At the end of the day, this was more about me working the primary material into various forms, and the texture was very secondary. Still, I was impressed at the level of detail that actually translated from fabric to the letterforms. By rolling a long, skinny string of the clay over the netting, the resulting pattern is almost like snakeskin. The herringbone upholstery fabric left a distinct herringbone pattern on the clay, and you can even see the perpendicular stitching that makes up each piece of the pattern. The tweed left a bumpy, organic texture, especially apparent in number 8 which looks to me like a couple of stacked peanuts. The chiffon left the faintest imprint of all the fabrics, but it's still visible as wispy, wavy parallel lines.
To take this a step further, it would be interesting to use these letterforms as stamps, and see if the textures left on the clay would translate to an ink print. Maybe I'll try that out for a later study.
UPDATE: A few days after posting this letter I still felt unhappy with the study, and I wanted to try a different way of combining fabrication and fibers. I found a tutorial on how to felt objects using wool roving, and I wanted to give it a try. I took two of the letters I made from modeling clay and wrapped them in thin shreds of the wool roving in several colors. Holding it under warm soapy water for a few minutes, then reshaping the wool and repeating a few times produced fantastic results. The first time I held the letter under the warm water I could immediately feel the wool tighten around it. I think I could have started with my wool wrapped more tightly - I was expecting it to shrink a bit more, and so my resulting letter is still a little puffy-looking. But overall I think it turned out well, and it's definitely an entirely different way of applying fibers to clay.