Day 54
PRIMARY TOOLS & MATERIALS:
WOOD, TONER REACTIVE FOIL
Additional Tools & Materials: wood carving tools, xacto blade laser printer, paper, wood burning tool, tape, camera, scanner
I had the idea for this letter when I was learning about what you can do with a wood burning tool. Turns out there's an attachment that looks like a small metal disc you can use to transfer toner ink from a laser printer onto wood - presumably to give you guides for wood burning or carving. At first I was relieved that this could be done, otherwise I wasn't sure how to transfer an image to wood - which I'll be doing several times during this project. Then I thought - wait - that means there will be toner on the wood. What if I found a way to transfer toner reactive foil onto the surface of the wood? I was so sure this would work. Positive. Well, it kinda worked.
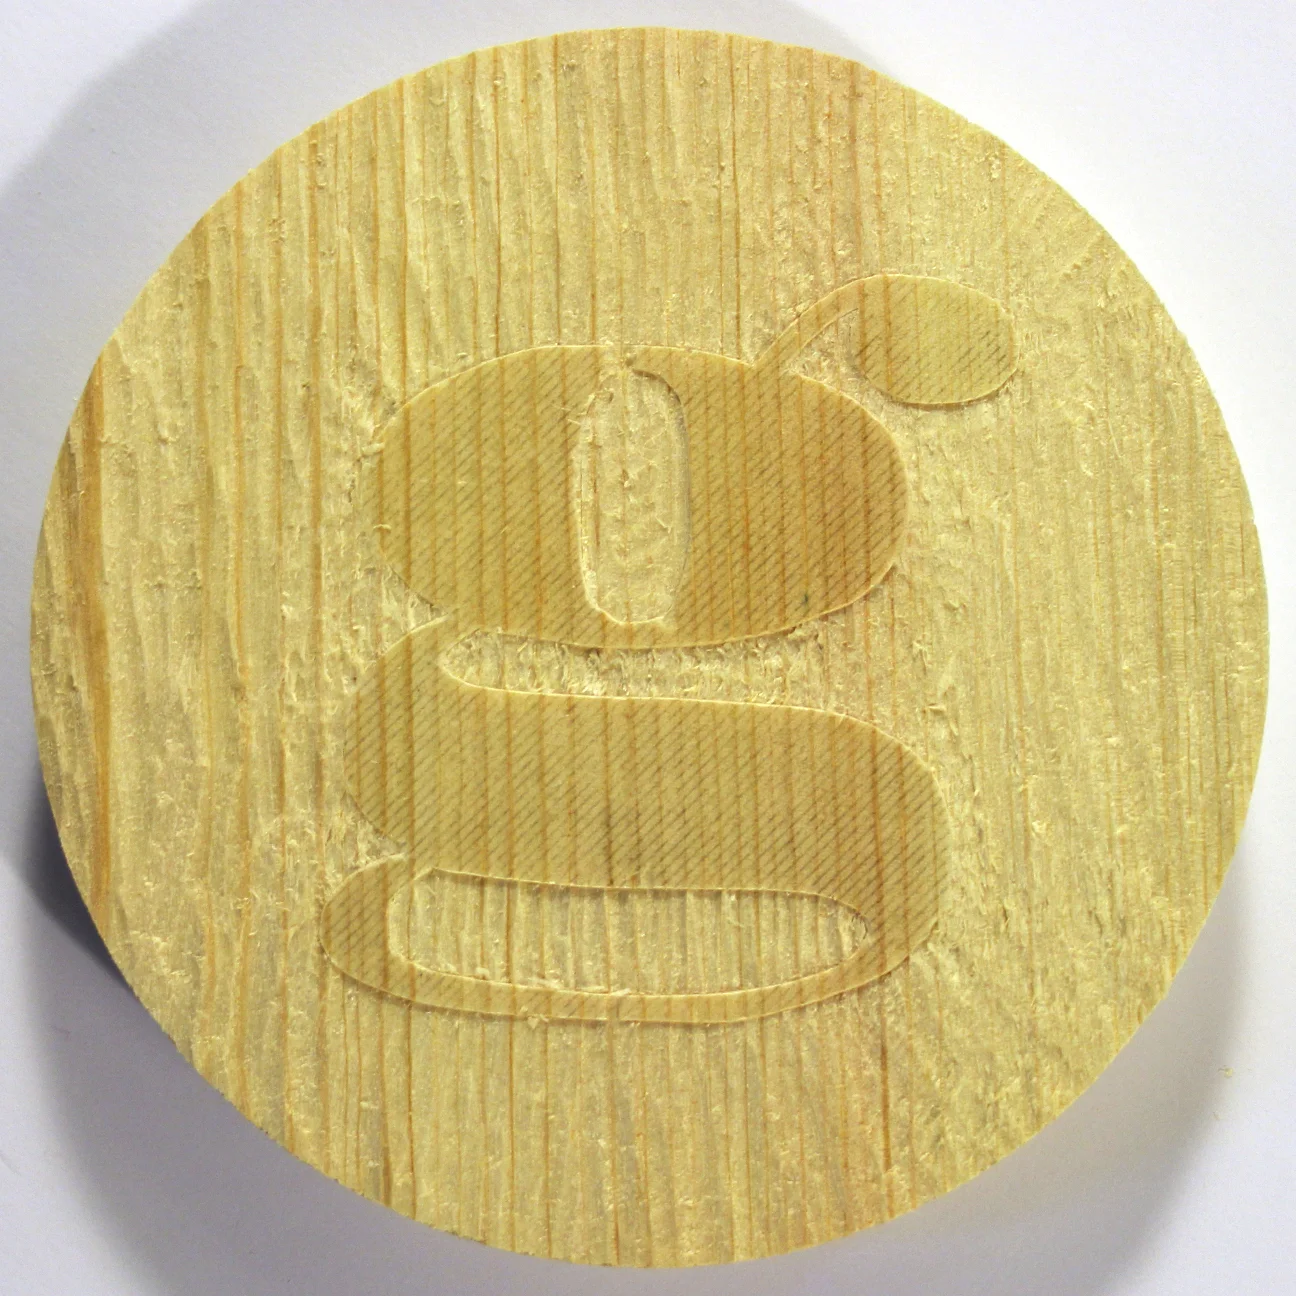
Today's matchup is carving/shaping (wood carving tools) plus advanced paper and materials (toner reactive foil.) I began by first printing some letter Gs in reverse with black toner on a laser printer. I decided to print these Gs with a faint striped pattern, so I could see where to cut, but so the pattern wouldn't be as noticeable after it was carved. I also hoped the toner reactive foil would stick to the pattern and give me a striped texture. I cut one letter out, taped it face down onto my wood surface, then heated up the wood burning tool. Slowly I pressed the flat disc against the wood, tracing the shape of the letter G until I had warmed all the toner. When I removed the tool - the transfer worked great! The pattern was faint but visible, and it would give me enough guidance to carve my letter.
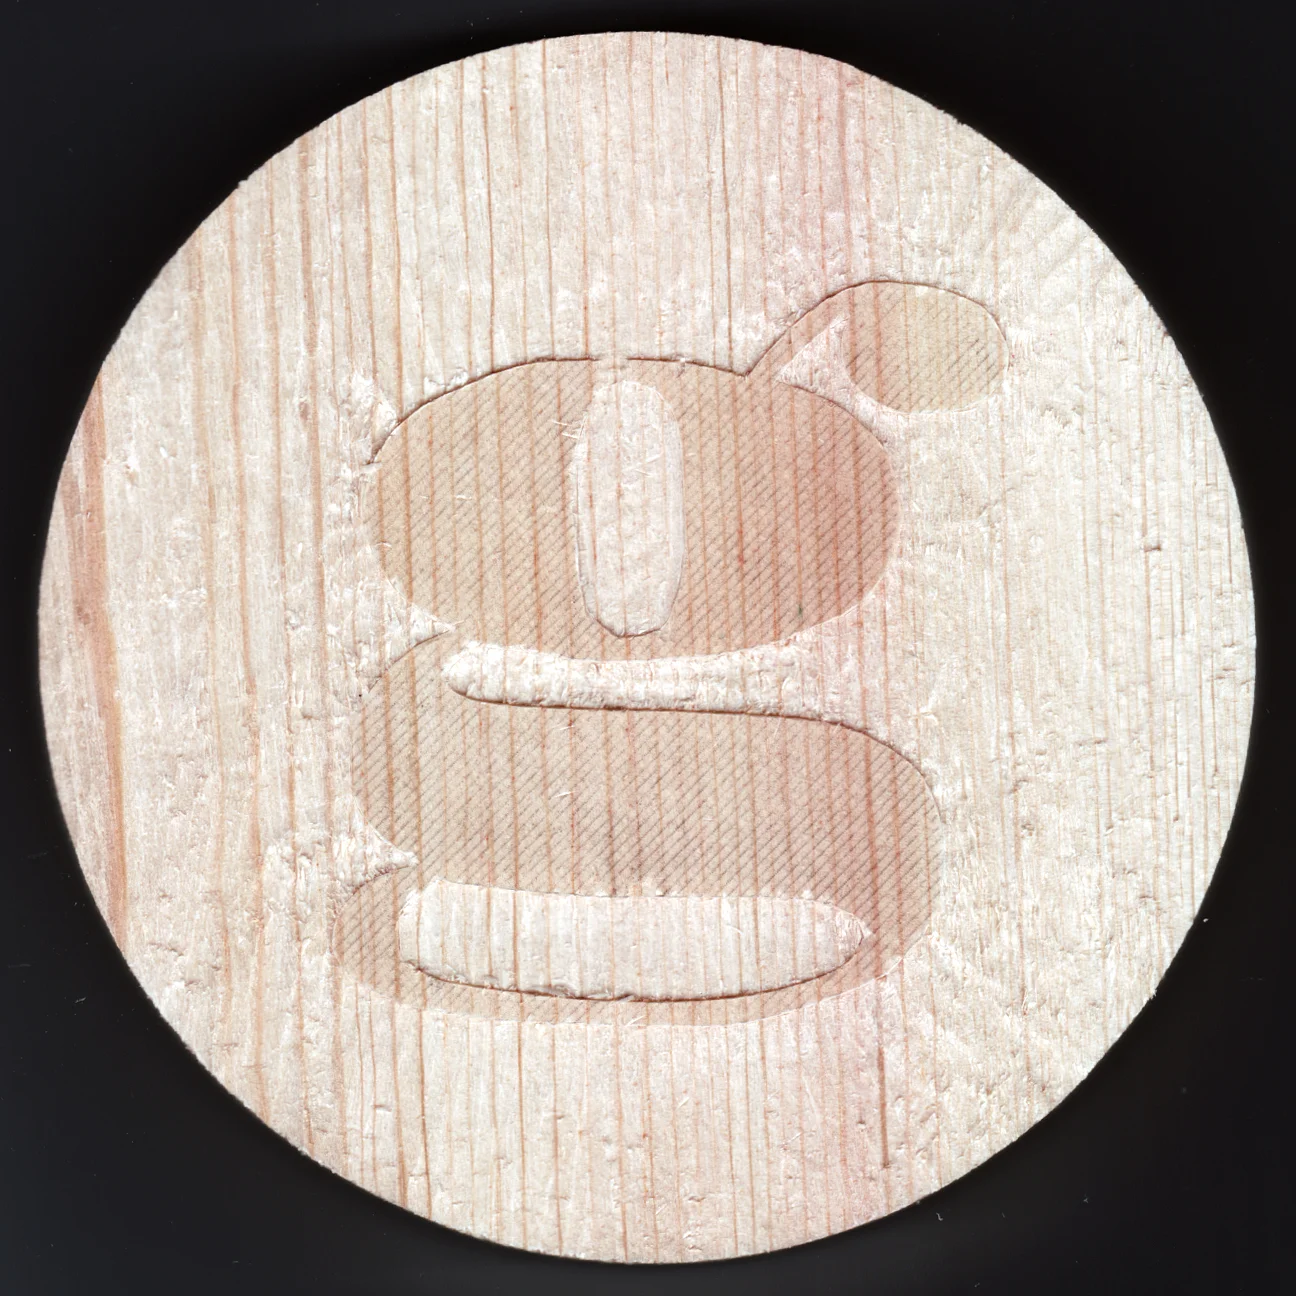
I used a standard xacto blade first to outline the basic shape of the letter. Then I used a semi-circle shaped cutting blade to begin scooping away wood in a radial pattern outwards from the letter. This worked great with the grain of the wood, but was difficult working perpendicular to the grain. The scraped wood was rough, bumpy and uneven. Once I'd scraped away a layer of wood from the whole block except for the G, I went over the horizontal strokes again vertically, trying to even out this choppiness. Once that was done I took a ton of pictures because I was fairly certain the next step would ruin it.
I took a small square of blue toner reactive foil color side up, placed a small sheet of printer paper over it, then began again pressing the hot disc tip of the wood burning tool over the raised area. Toner reactive foil sticks to toner when it's heated - so the hope was that when I removed the foil, some would stick to the wood, and maybe even in the diagonal stripe pattern of the toner. When I removed the sheet, some did stick, but not everywhere, and not even lined up with the foil. I was pretty disappointed. I tried a few more times, by attempting to re-transfer the G with solid printed toner, then reapplying the foil, but the result was just a mess. Some of the paper melted, burned, and became stuck to the toner and wouldn't come off. The result is not pretty.
I'm glad I tried this though; it was sort of an attempt to apply the transitive property of equality to wood burning. Bear with me here. If heat + toner = design transferred on wood, and heat + toner + toner reactive foil = melted toner foil, then heat + toner design on wood should = melted toner foil design on wood! Right? Well, sort of. It did kinda work, but I think my heat settings were either too low (when only some toner melted) or too high (when it burned and stuck to the paper). Maybe I'll try this again but for now I think this myth is busted. Just for fun, I did Photoshop what a successful toner transfer might have looked liked (image 11). Maybe next time I'll try a heat gun or an iron. Also, next time I would want to successfully transfer the foil onto the wood before carving - that seems way more practical in hindsight.


